Understanding the Importance of Professional Home Photography
High-quality home photography plays a pivotal role in the effective marketing of real estate properties, particularly in competitive markets like Miami. The visual appeal of a property can significantly influence a potential buyer’s first impression and their decision to explore further. As more homebuyers begin their property searches online, the importance of compelling, professionally captured images becomes obvious. Well-executed photography not only highlights the unique features and the overall charm of a home but also communicates the property's condition, layout, and ambiance in a way that static descriptions cannot.
In Miami’s vibrant real estate landscape, where waterfront views, modern amenities, and architectural styles attract diverse clientele, capturing these elements through high-quality images is essential. Professional photography can effectively showcase a property's best aspects, making it stand out amidst a sea of listings. This visual storytelling creates an emotional connection with potential buyers, encouraging them to schedule a viewing or make an inquiry. From luxury condos downtown to cozy family homes in suburban neighborhoods, the right images serve as a critical marketing tool that influences purchase decisions and accelerates the sales process.
Moreover, professional home photography translates to higher engagement rates on online platforms, leading to increased visibility and a broader reach. Listings accompanied by exceptional images are more likely to be shared across social media channels and receive more inquiries, ultimately shortening the sales cycle. For real estate professionals aiming to position Miami properties competitively, investing in quality photography is a strategic move that yields measurable results. The combination of advanced techniques, understanding of market trends, and the ability to communicate a property's narrative through images makes professional home photography indispensable in today’s digital-centric real estate industry.
Equipment and Camera Settings for Home Photography
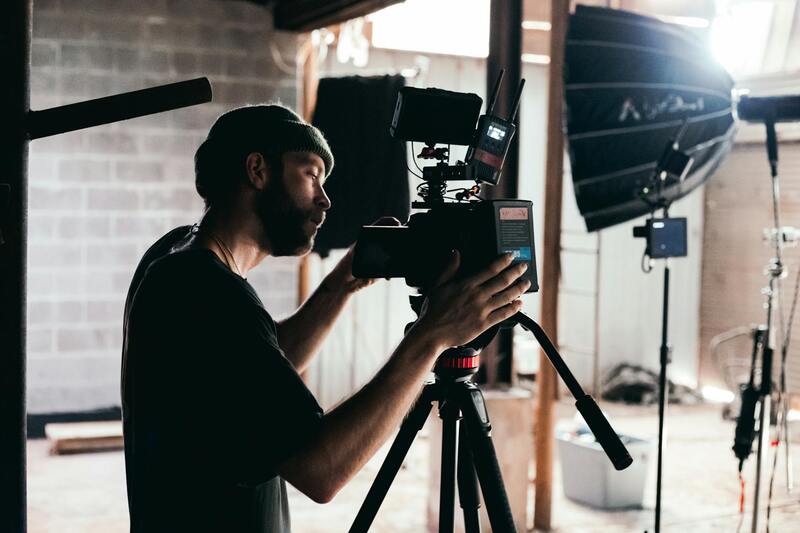
Successfully capturing high-quality images of homes requires more than just a good eye; it also demands the use of appropriate equipment and precise camera settings. Selecting the right tools ensures that photographs accurately represent the property’s size, details, and ambiance, ultimately attracting more prospective buyers and enhancing listing appeal.
Essential Equipment for Professional Home Photography
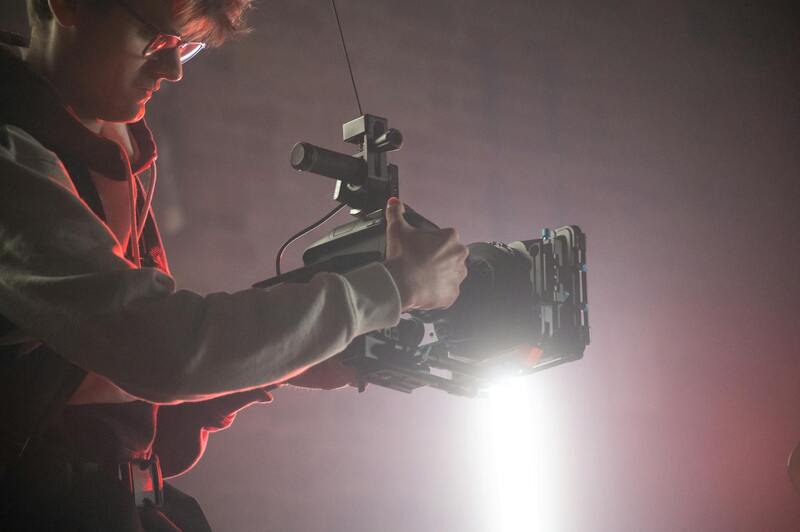
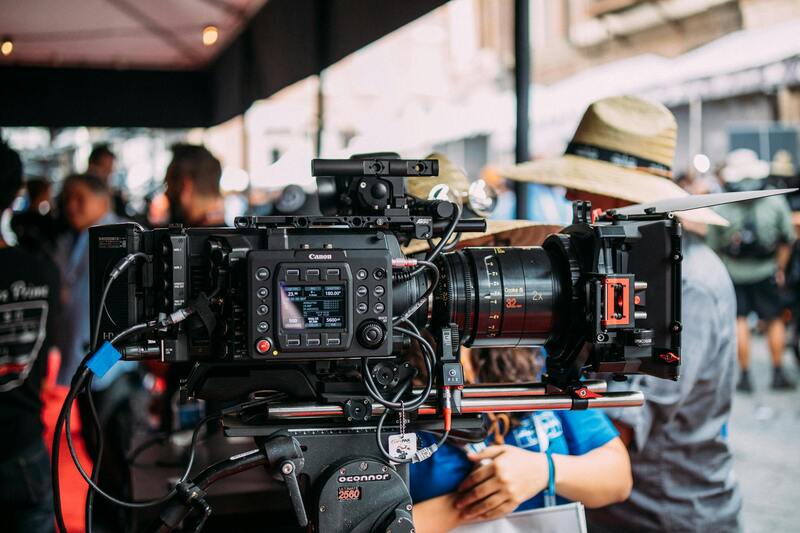
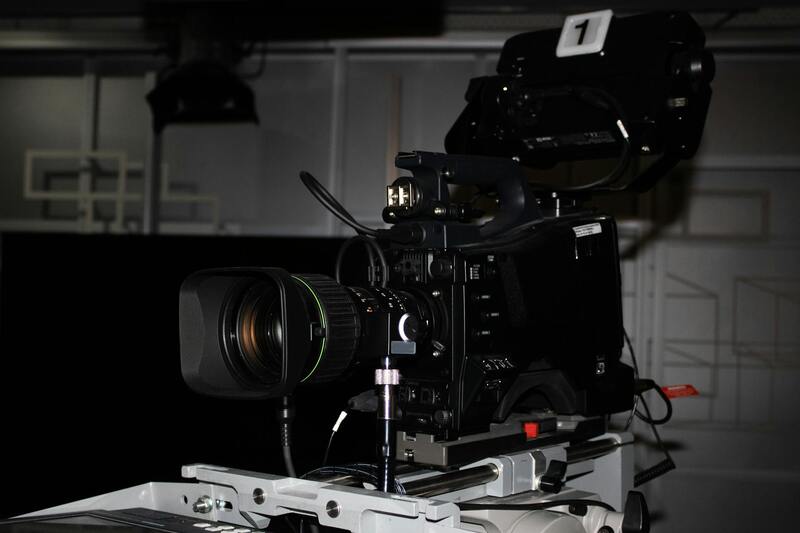
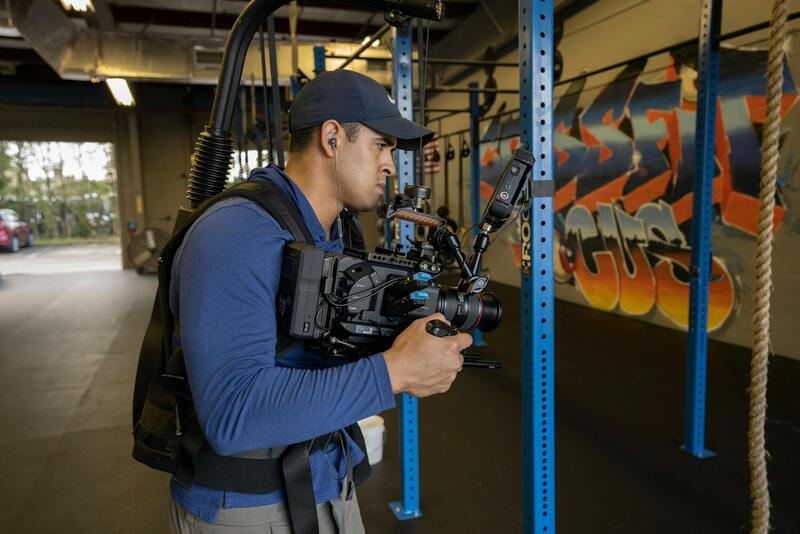
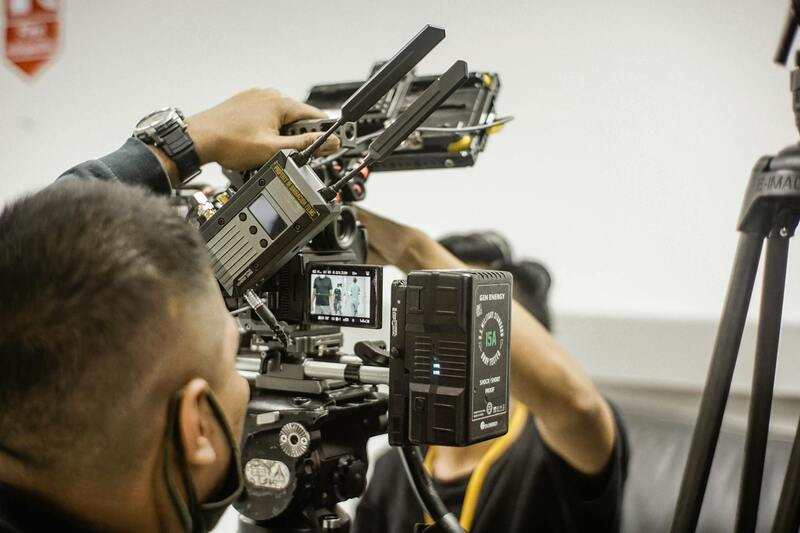
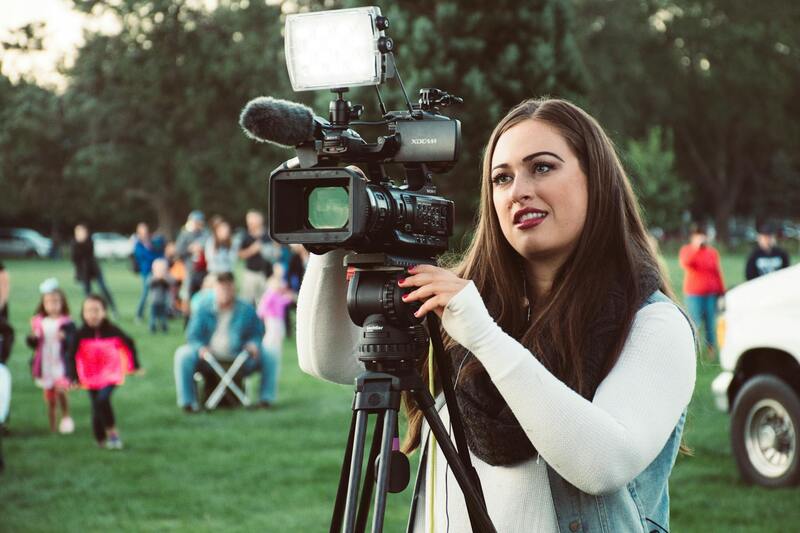
- DSLR or Mirrorless Camera: High-resolution sensors allow for detailed images and flexibility with interchangeable lenses, providing unmatched clarity and control.
- Wide-Angle Lenses: Typically ranging from 14mm to 24mm, these lenses enable capturing expansive views of interior spaces, making rooms appear larger and more inviting.
- Tripod: Stability is crucial for sharp images, especially in lower light conditions or when taking multiple shots for HDR processing.
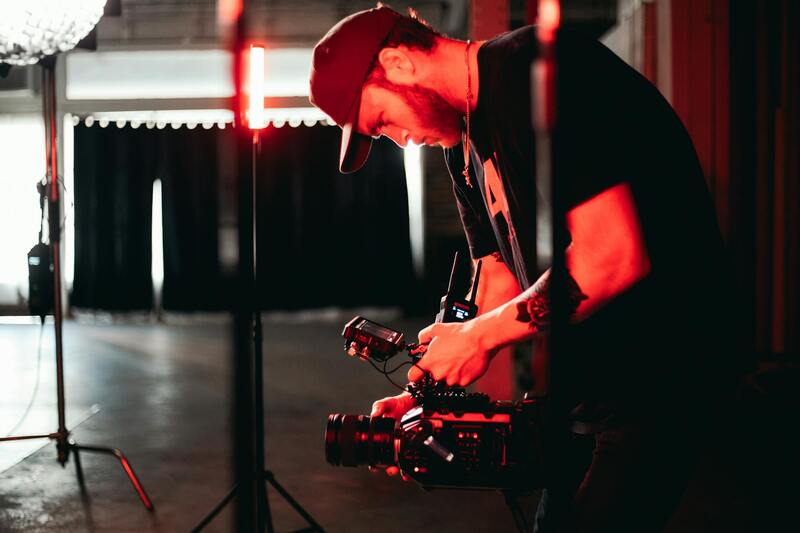
- External Flashes or Lighting Equipment: Proper lighting can dramatically improve image quality, especially in dimly lit spaces.
- Remote Shutter Release or Timer Function: Reduces camera shake, ensuring crisp, high-quality photos.
- Photo Editing Software: Programs like Adobe Lightroom or Photoshop help fine-tune images, correct distortions, and enhance visual appeal.
Optimal Camera Settings for Real Estate Photography
Adjusting camera settings appropriately is essential for capturing crisp, well-lit images that highlight a home’s features. The following settings serve as a solid baseline for interior shots:
- ISO: Keep ISO as low as possible, ideally between 100-200, to minimize noise and ensure clarity.
- Aperture: Use a small aperture (higher f-number, e.g., f/8 to f/11) to achieve sufficient depth of field, keeping the entire room in focus.
- Shutter Speed: Adjust according to lighting conditions; when using a tripod, slower shutter speeds (e.g., 1/8 to 1/4 second) are acceptable for optimal exposure.
- White Balance: Set to match the lighting conditions—preferably daylight or custom—to accurately reproduce colors.
Additional Tips for Camera Settings
Utilizing the camera's nested exposure bracketing feature can help create high dynamic range (HDR) images, ideal for spaces with challenging lighting contrasts. Moreover, manually adjusting focus ensures critical elements remain sharp. Experimenting with different settings based on specific rooms and lighting scenarios can significantly improve overall image quality, creating compelling visuals that resonate with viewers.
Techniques for Capturing Wide-Angle and Interior Shots
Achieving captivating interior photos hinges on the strategic use of wide-angle lenses, which allow photographers to encompass more of a space within a single frame. These lenses are particularly beneficial for highlighting the expansiveness of living areas, bedrooms, and kitchens. When selecting equipment, a lens with a focal length between 14mm and 24mm is often ideal, providing a balance between wide coverage and minimal distortion.
To optimize the use of a wide-angle lens, photographers should position the camera at a height that reflects the natural eye level, generally around 4 to 5 feet from the ground. This framing helps produce a realistic perspective that appeals to potential buyers without exaggerating dimensions. Maintaining a steady camera stance is crucial; utilizing a tripod with a panoramic head ensures consistent framing, reduces shake, and allows for precise adjustments in composition.
Interior shots benefit from incorporating leading lines and symmetry to draw the viewer’s eye through the space. Techniques such as shooting from corners of rooms can add depth and dimension, making the space appear larger and more inviting. When capturing multiple images within a room, overlap each shot slightly to facilitate seamless stitching during the editing process for virtually distortion-free, wide panoramic images.
In addition, employing natural light sources enhances the atmosphere of interior photos. Opening curtains, turning on lights, and avoiding harsh shadows during shooting are practices that ensure clear and vibrant results. When needed, supplemental lighting such as portable flashes or reflectors can fill in shadowed areas or balance uneven lighting, creating a uniformly bright and welcoming image.
Lighting Tips for Home Photography
Effective lighting is a cornerstone of professional home photography, directly influencing the image’s clarity and appeal. For interiors, the golden hours shortly after sunrise or before sunset offer soft, warm sunlight that naturally enhances the property’s features. During indoor shoots, utilizing ambient light is essential, but supplementing with artificial light sources can significantly improve the overall results.
When working with natural light, maximize its potential by opening curtains and blinds. Position the camera to face away from windows, allowing windows to illuminate the space evenly, rather than creating uneven highlights or shadows. If natural light is insufficient, softbox lights or LED panels can be used judiciously to fill dark areas without creating harsh shadows or glare.
Balancing multiple light sources is critical to avoid color casts and overexposed spots. Synchronizing the white balance setting with the lighting conditions ensures consistent color reproduction, making the home look more appealing. Additionally, avoiding reflective surfaces that can produce distracting glares and managing window reflections with polarizing filters can lead to cleaner, more professional images.

Mastering these techniques and understanding how to manipulate lighting conditions will help create compelling visual narratives of properties, heightening their appeal to prospective buyers and clients alike. Consistent practice in choosing the right equipment, angles, and lighting setups will refine a photographer’s ability to showcase homes in Miami and beyond with professionalism and finesse.
Techniques for Capturing Wide-Angle and Interior Shots
When photographing homes, especially in a competitive real estate market like Miami, capturing the true essence and spatial dimensions of a property requires specialized techniques. Wide-angle lenses are indispensable tools that allow photographers to include more of a room or exterior scene within a single frame, providing viewers with a comprehensive perspective.
Choosing the right lens is crucial; generally, a lens with a focal length between 14mm and 24mm for full-frame cameras or their equivalents for crop sensors is ideal. These lenses minimize distortion while maximizing the field of view, making rooms appear more spacious and inviting. For interior shots, mounting the camera on a tripod ensures stability and enables the use of smaller apertures, increasing depth of field and overall image sharpness.
Proper positioning is key to capturing well-balanced interior photos:
- Eye-level shots: Keep the camera at a height that reflects the natural perspective of a potential viewer, usually around 5-6 feet from the ground.
- Corner framing: Shooting from a corner of the room maximizes the sense of space and showcases multiple features in a single image.
- Vertical lines: Maintain verticality to avoid distortion. Use grid lines or level indicators on the camera to keep straight edges, which helps create a professional appearance.

In addition to lens choice and positioning, manipulating the camera’s aperture is essential. An aperture between f/8 and f/11 provides sufficient depth of field, keeping the entire scene in focus. This clarity is vital in home photography, where showcasing detailed features like intricate moldings, kitchen fixtures, or outdoor landscapes can influence buyers' perceptions.
Employing bracketing techniques—capturing multiple images at different exposures—can also be advantageous. These images can be combined through HDR (High Dynamic Range) processing to render an accurate, vibrant depiction of spaces with high contrast lighting conditions, such as living rooms with large windows or exterior shots at sunset.
Posture and angles further influence the perception of space. Shooting slightly from above, especially in rooms with high ceilings, can accentuate openness. Carefully selecting compositions that highlight key features, such as fireplaces, large windows, or custom cabinetry, helps tell a compelling visual story of each property.
Outside, capturing the home’s exterior features with wide-angle shots provides context and curb appeal. These images should emphasize architectural details, landscaping, and entryways while maintaining a balanced perspective that invites viewers in. Using a drone for aerial shots can also showcase the property’s proximity to local amenities, parks, and Miami’s scenic coastline, adding to its allure.
Mastering these techniques requires understanding of both equipment and compositional principles. Continuous practice at different locations within Miami will enable photographers to adapt to varying lighting conditions, architectural styles, and outdoor environments, ensuring each property’s unique qualities are faithfully represented.
Utilizing Official Methods to Enhance Home Photography
Achieving high-quality, visually appealing home photographs requires adherence to established, reputable techniques and tools. The cornerstone of effective home photography lies in utilizing consistent, accredited equipment and proven shooting practices that conform to industry standards. Professional photographers invest in quality DSLR or mirrorless cameras equipped with wide-angle lenses, which are essential for capturing expansive interior spaces and exterior landscapes without distortion. These lenses enable wide coverage, minimizing the need for multiple shots and facilitating seamless panoramic compositions.
Properly setting the camera is crucial for capturing true-to-life images of the property. This includes adjusting ISO levels appropriately to prevent noise, selecting optimal apertures to maintain sufficient depth of field, and setting shutter speeds that prevent motion blur, especially when shooting handheld. Employing manual focus ensures precise control over sharpness, especially in complex scenes with varying light levels.
In addition to camera gear, legitimate methods involve employing level tools and tripods to ensure straight horizons and consistent framing. Proper stabilization is vital for clarity, particularly in interior spaces with complex layouts or low light conditions that necessitate longer exposures. Photographers should also utilize calibrated color profiles to maintain color accuracy across different lighting environments, ensuring the images reflect the true ambiance of the property.
When capturing exterior shots, official techniques include using drone photography from certified operators to attain aerial perspectives that showcase a property's full scope. Such methods provide prospective buyers with valuable context about surrounding amenities, landscaping, and architectural details that are often inaccessible from ground level. Aerial imagery, when executed through licensed drone services, guarantees safety compliance, regulatory adherence, and high-resolution results.
Http://miamivideoservices.net emphasizes the importance of continuous training and equipment maintenance. Regular calibration of camera settings and updates of post-processing software ensure images remain true to life and adhere to current industry standards. Additionally, following legal guidelines regarding the use of drones and protected landscapes is vital in producing official, compliant imagery that upholds professionalism in the Miami real estate market.

Implementing these official and proven methods reflects a commitment to quality and accuracy in home photography. This strategic approach not only bolsters the visual appeal of listings but also enhances credibility and fosters trust among clients and viewers alike. Mastery of the right tools, camera techniques, and adherence to established practices form the foundation of successful home photography that can effectively attract potential buyers and elevate property marketing efforts in Miami’s competitive real estate landscape.
Technical Aspects of Capturing High-Quality Home Images
To produce visually appealing and accurate representations of homes, it is essential to understand and implement specific technical protocols during photography. This involves mastering camera settings such as aperture, shutter speed, ISO, and white balance, which directly influence image clarity, color accuracy, and exposure. For indoor environments, a low ISO setting is recommended to minimize noise, while a wider aperture can help achieve a pleasing depth of field that highlights architectural details. Additionally, utilizing a tripod ensures stability, preventing blur during longer exposures necessary in low-light interior conditions.
When setting up for a shoot, it is advantageous to use manual mode to fully control exposure parameters and maintain consistency across different rooms and lighting conditions. Employing a tilt-shift lens, where available, can assist in correcting perspective distortions often encountered in interior photography, ensuring straight lines and proportional representations of walls and furniture. Furthermore, leveraging high dynamic range (HDR) techniques can reconcile the contrast between bright windows and darker interior spaces, resulting in more balanced and natural images.
Utilizing Proper Lighting Techniques
Effective lighting is a cornerstone of professional home photography. Natural light should be prioritized by scheduling shoots during daylight hours and opening curtains or blinds to maximize sunlight. Supplementing with soft, diffused artificial lighting can eliminate shadows and highlight architectural features without creating harsh contrasts. Using light modifiers such as umbrellas, softboxes, or bounce reflectors helps soften light sources and produce evenly illuminated scenes. For rooms with insufficient natural light, employing off-camera flash units with diffusers ensures consistent brightness and color rendering.
Attention to lighting considerations extends to the placement of light fixtures, ensuring they do not cause unwanted glare or color casts. Ambient lighting should be complemented with accent lights to draw attention to focal points such as fireplaces, artwork, or architectural details. Properly balanced lighting not only produces inviting photographs but also offers an authentic feel that resonates with prospective buyers.
Post-Processing Procedures for Optimal Results
High-quality post-processing augments the raw images captured during the shoot. This includes correcting colors to match real-life appearances, adjusting brightness and contrast levels, and cropping images for optimal framing. Consistent editing standards across all photos in a listing maintain a professional appearance and reinforce the credibility of the marketing presentation. Software such as Adobe Lightroom or Photoshop enables precise adjustments, allowing for nuanced enhancement without compromising image authenticity.
It is equally important to remove any distractions or imperfections, such as clutter or temporary fixtures, through careful cropping and retouching. Employing perspective correction tools can rectify distorted lines, ensuring buildings are depicted accurately. These meticulous post-processing steps strengthen the visual narrative of the property, making it more attractive and trustworthy for potential buyers and real estate professionals.
Understanding the Importance of Professional Home Photography
Professional home photography plays a crucial role in the real estate marketing process, especially in competitive markets like Miami. High-quality images serve as the first impression for potential buyers, shaping their perception of the property before they even step through the door. Detailed, well-composed photographs highlight the unique architectural features, spacious interiors, and desirable amenities that can set a listing apart from others. In today's digital age, where most home searches begin online, the visual appeal of property photos directly influences engagement rates, open house attendance, and ultimately, sale transactions.
Professionally captured images help ensure that the property is presented in its best light, avoiding common pitfalls like poor lighting, distortions, and unflattering angles. Skilled photographers understand how to manipulate light, perspective, and framing techniques to create images that evoke emotional responses and foster a desire to view the property in person. Accurate, attractive visuals also reinforce trustworthiness and demonstrate a commitment to quality, which can influence a buyer's decision-making process. As a result, investing in top-tier photography is a strategic move for real estate agents and homeowners aiming to maximize the property's market appeal.
Preparing a Home for Photography
Preparation is vital to achieve stunning results in home photography. Before the shoot, decluttering each room ensures that focal points, such as furniture, artwork, and architectural details, are clearly visible. Small details matter; removing personal items, excessive decorations, and temporary fixtures helps create a clean and inviting environment. It is recommended to thoroughly clean the home, paying special attention to windows, floors, and surfaces, to eliminate dust and smudges that could detract from the final images.
Staging the home can significantly enhance its visual appeal. This may include rearranging furniture to improve flow and emphasizing spaciousness, adding fresh flowers or neutral décor to brighten the atmosphere, and adjusting window coverings to optimize natural lighting. Properly positioning furniture and accessories directs the viewer’s attention toward the property’s best features and creates a balanced composition. Additionally, securing loose cords, removing clutter from countertops, and ensuring bedding and upholstery are tidy and in good condition contribute to a polished, professional appearance.
Equipment and Camera Settings for Home Photography
Effective home photography relies on the right equipment and optimal camera settings. A DSLR or mirrorless camera with a wide-angle lens (typically in the 14-24mm range) is preferred for capturing expansive interior spaces without distortion. A tripod is indispensable for stability, especially in low-light conditions or when employing long exposures.
Key camera settings include a low ISO setting (such as 100-200) to minimize noise, an aperture that balances depth of field and sharpness (usually between f/8 and f/11), and an appropriate shutter speed to ensure well-exposed images. Using manual focus allows precise control, avoiding soft or blurry shots. Bracketing exposures can also be beneficial when dealing with complex lighting scenarios, enabling HDR processing to achieve balanced brightness in both interior and exterior photos.
Techniques for Capturing Wide-Angle and Interior Shots
Mastering wide-angle photography is essential to showcase the full scope of interior spaces. Position the camera in corners of rooms to maximize the perceived size and depth, ensuring the vertical lines remain straight to prevent distortion. When photographing ceilings, keep the camera level and avoid tilting upward excessively to maintain realistic proportions. Using a tripod allows for the precise framing necessary for symmetrical compositions and consistent shots across a listing.
For interior shots, consider multiple vantage points to capture each room’s functionality and ambiance. Vertical shots tend to be more natural than overly wide horizontal views, which can distort architectural lines. When photographing exterior façades, choose the optimal time of day—preferably during golden hour or overcast conditions—to soften shadows and highlight textures. Including landscape elements, such as gardens or water features, can add context and visual interest.
Lighting Tips for Home Photography
Lighting is arguably the most critical aspect of capturing compelling property images. Natural light should be prioritized; open curtains and blinds to let in as much daylight as possible, ideally shooting during the late morning or early afternoon when sunlight is softer and more diffuse. Overcast days offer excellent conditions for even, shadow-free lighting that reduces glare and enhances true color rendition.
Supplemental lighting can be used to fill shadows and highlight specific features. Portable flash units or continuous lights with softboxes help create balanced illumination, especially in rooms with limited natural light or high contrast scenarios. Position these lights strategically to avoid harsh shadows or unnatural color casts. During interior shoots, turn on all available light fixtures, including lamps and accent lights, to add warmth and depth to images, but avoid overexposure or glare caused by reflective surfaces.
Balancing interior and exterior lighting is essential when capturing images that accurately portray the space’s ambiance. Consider bracketing exposures to combine multiple images in post-processing, ensuring both dark shadows and bright highlights are properly represented. Post-shoot, adjusting white balance settings to match the lighting conditions guarantees that colors appear natural and inviting.
Legal and Ethical Considerations in Home Photography
Ensuring adherence to official standards and respecting the rights of property owners are fundamental aspects of professional home photography. When capturing images of residential properties, it is vital to secure explicit consent from property owners or authorized representatives before any photo shoot begins. This consent affirms understanding of how the images will be used, distributed, and displayed in marketing channels.
Proper documentation, such as signed agreements or release forms, not only fosters transparency but also helps avoid potential disputes regarding image rights or privacy. Clear communication about the scope of the photography, including which areas will be photographed and the potential for images to be shared publicly, establishes trust and professionalism.
In addition to permissions, photographers should be wary of sensitive or private areas within the property. Avoid capturing or sharing images that reveal confidential spaces or belongings unless specifically authorized. Respect for the client's privacy must guide every decision during the shoot.
Editing images to enhance their appeal should be performed ethically—adjustments should reflect the true appearance of the property without misleading viewers. Overly manipulated images can distort expectations, leading to dissatisfaction or disputes upon viewing. Transparency in post-processing techniques, especially when showcasing properties online, maintains the integrity of the marketing effort and reinforces the trustworthiness of the photographer.
Additionally, compliance with local regulations regarding drone photography (if aerial shots are included) is essential. Operators should verify any restrictions related to drone use in residential zones, such as altitude limits and no-fly areas, and obtain necessary permits or certifications if required. Respect for privacy extends to avoiding intrusive or overly revealing images, especially in densely populated neighborhoods.
Adherence to professional codes of conduct and industry guidelines not only enhances the reputation of the photographer but also contributes to a positive, trustworthy relationship with clients and real estate professionals. Consistently evaluating and updating practices based on current standards ensures ongoing compliance and upholds the highest levels of professionalism in home photography.